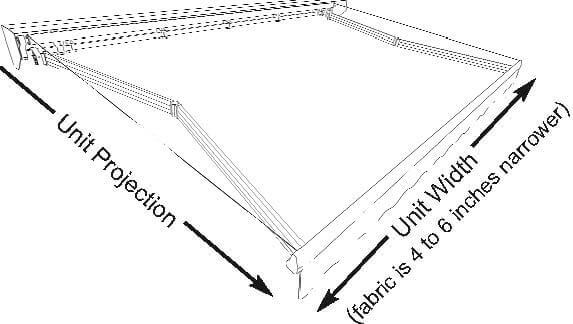
Width is defined as the measurement along the mounting surface you are considering. The other unit measurement is projection- the outward distance the unit extends away from the mounting surface when fully extended.
Many homeowners chose to cover the entire width of their deck or patio. If this is your desire, take a measurement from the outside edge of the railing to the outside edge of the railing on the opposite side. This measurement will determine the overall unit width. The fabric of your awning will be 4 to 6 inches narrower than the overall unit which is why you included the railings in your measurement. If your desire is to cover less than the full width of your deck or patio, add 6″ to your measurement for actual fabric coverage.
Things to consider: The unit will need to mount on a flat, straight surface
Desired Unit Width: ____’_____”
This is the distance the unit will extend from the installation brackets away from the house. Note that projection is measured as if the unit was set a 0 degree pitch. The typical mounting application, with proper pitch will reduce the total projection about 4″ to 6″ – the more pitch, the greater reduction of projection. We offer four projections – 8’2”, 10’0”, 11’6”, 13’0”. see model chart for unit and projection options
Things to consider: When you take this measurement, make sure there are no trees, poles or other obstructions that would interfere when the awning is extended.
Desired Unit Projection (circle one): 8’2” 10’0” 11’6” 13’0″
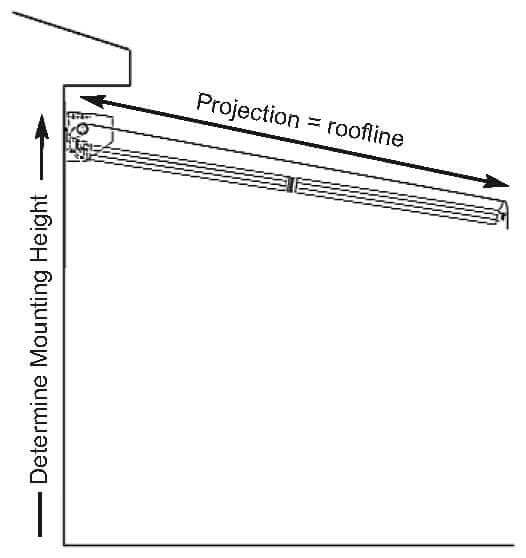
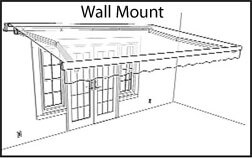
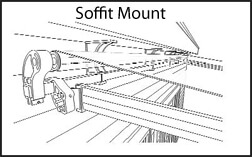
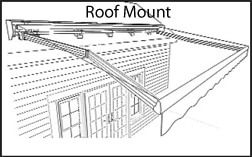
We offer three mounting options; please select the one that best achieves adequate mount height for the projection you selected – an important factor in the future performance of your awning.
These are the minimum mounting heights, as measured straight up from your deck or patio surface.
| Projection | Minimum Height |
|---|---|
| 8’2″ | 8’2″ |
| 10’0″ | 9’0″ |
| 11’6″
13’0″ |
9’6″
10’0″ |
Desired Mounting (circle one): Wall Soffit Roof
 We offer two drive options, manual or motorized. The manual option is a 1:7 gear transmission installed within the unit that you operate by manually turning a crank handle. On our longest projection, you will have to turn the crank over 80 times. The gear transmission can be installed at the factory on either side of the unit, so consider which side would provide the most space to operate the crank handle.
The beauty of the motorized drive option is that you just press a button once and walk away; the awning will fully extend or fully retract automatically. The motor can also be installed at the factory on either end of the awning. To help you select this drive option, determine the closest outdoor plug. All motorized units come with an 18’ long plug-in cord.
Another option is a wireless wind sensor that is attached to the front bar of the awning and senses movement when extended, adding a layer of protection to your awning
Desired Drive Option (circle one): Manual Motorized
If Motorized, Wind Sensor: Yes No

